
Ever wondered how you make those snazzy design graphics that people often use on Facebook to create social images for their business, school or personal news feed? Graphics are a great way of highlighting your posts on Facebook when you have something to shout about and you need something a little more visually appealing than just plain text to grab the attention of your customers.
In this blog, we will show you how to use Canva, the free online graphic design tool, to quickly create eye-catching images for your social media posts.
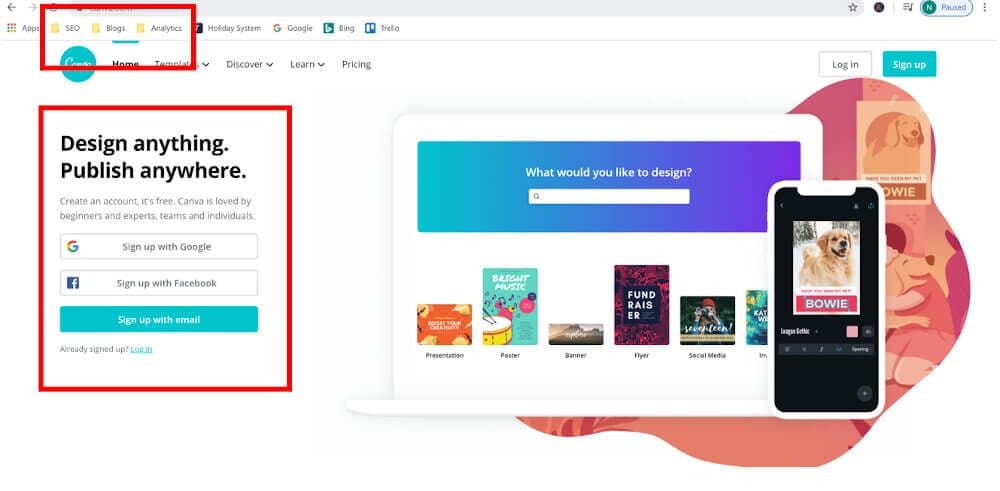
First, you’ll need to go to Canva and create a free account. You have the option to sign up with your Google or Facebook account or set up an account using your email address.
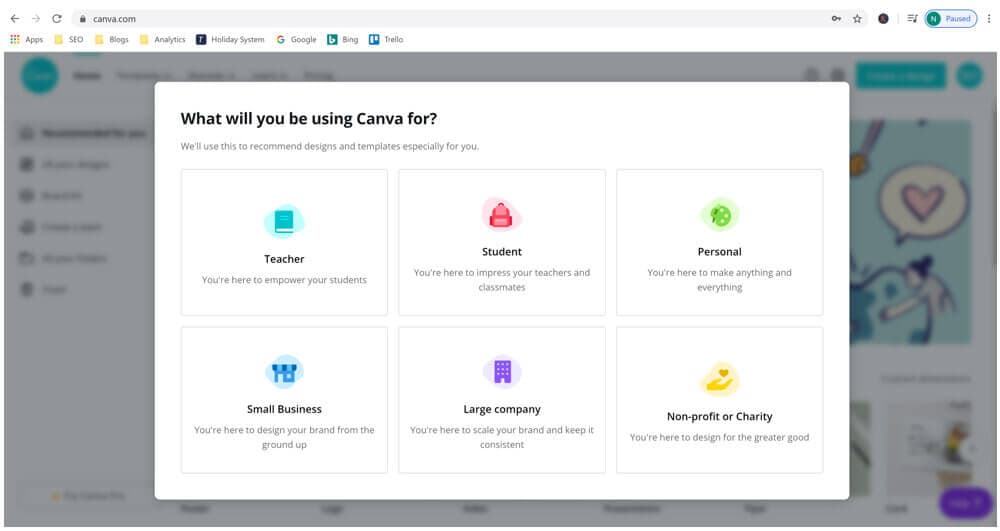
It may ask you what you will be using Canva for, just click on the appropriate option.
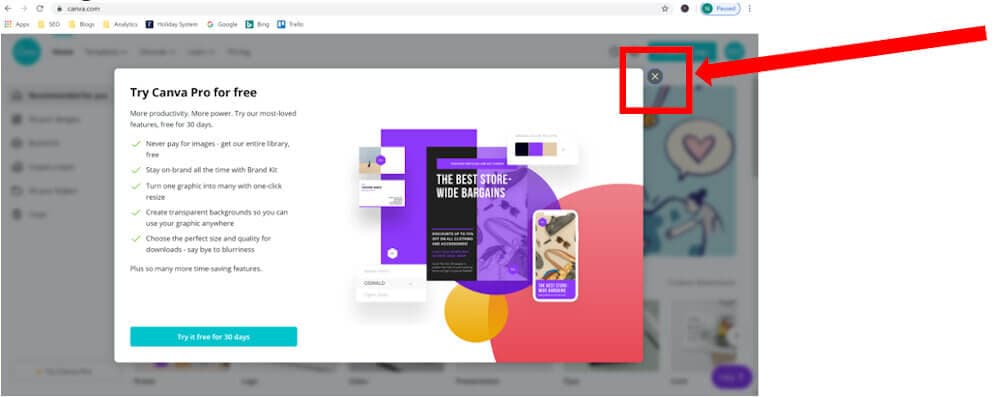
A window will likely appear asking you to sign up to a paid Canva account, you can skip this and close the window by clicking ‘the cross’.
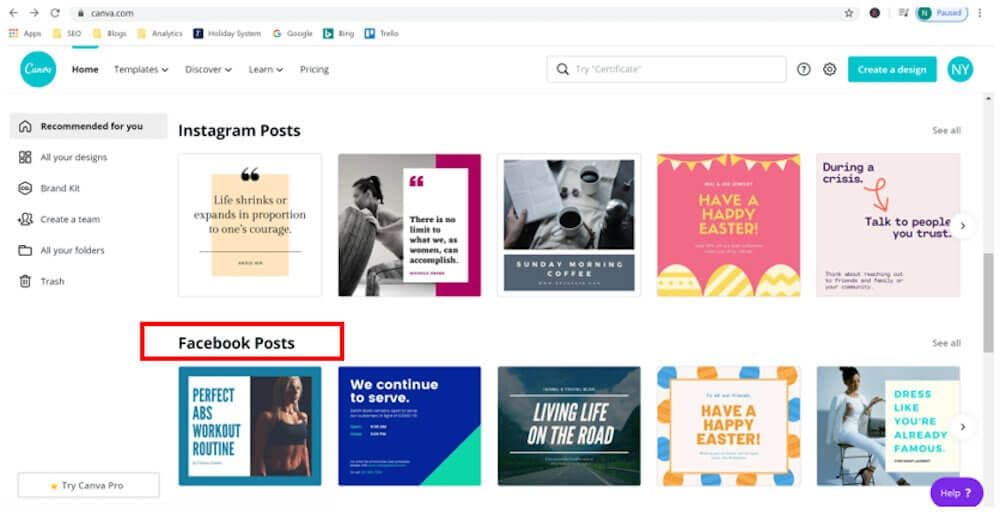
On the home screen you will see many options for creating designs but for this blog we are going to focus on just creating a design specifically to use on Facebook. Scroll down until you can see the ‘Facebook Posts’ option and click on it.
Click on the blank option.
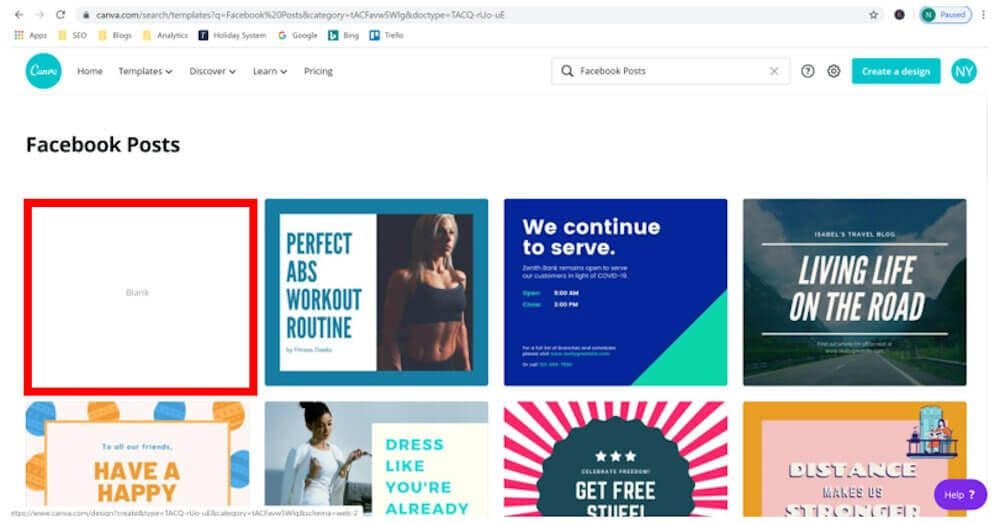
You can scroll through the templates in the left column (It will tell you which templates are free when you hover over one) or you can use the search bar to help narrow down your choices. Let us imagine that we are a restaurant wanting to create a graphic to draw attention to an upcoming promotion where, during weekdays kids can eat for FREE. We can start our search by typing ‘food’ into the search field and see what it comes up with.
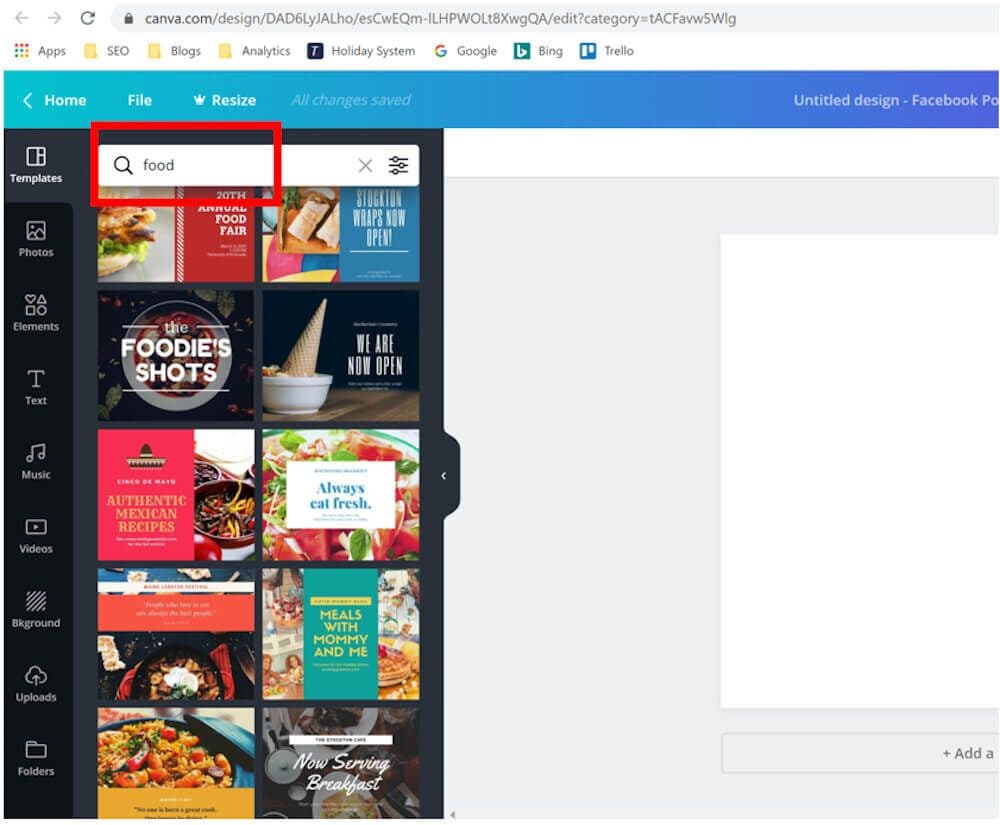
When choosing your template, think about what will make your audience stop scrolling on Facebook to look at your post. In this case we are searching for a template that will appeal to kids and families so let’s opt for something bright and colourful. When you have found one that is suitable click on the template to begin. Remember, it is just the format of the template that you are looking at as you can change and adapt all the elements to suit your post.
Now that you have found a great template, let’s make a few changes to customise it. Since Canva’s templates are already attractive and easy to read, you won’t have to change much.
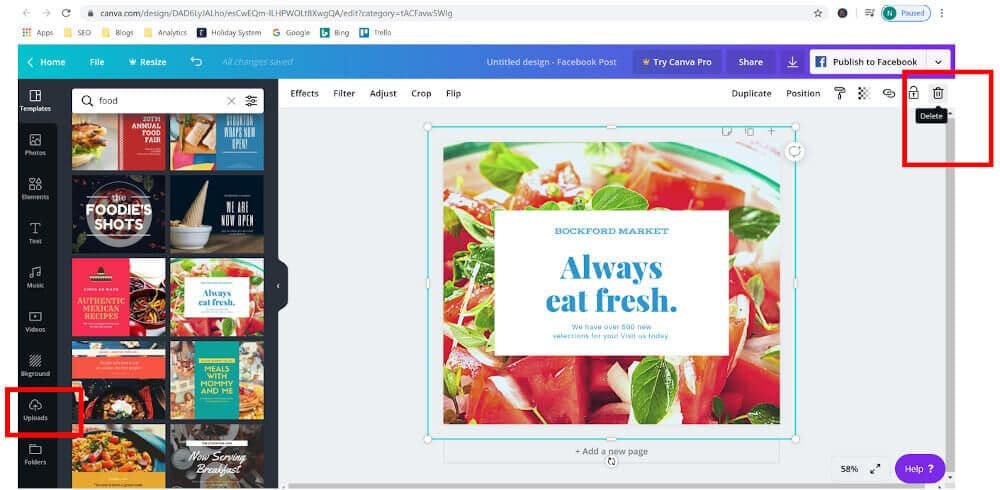
Note: some of the photo’s used in the template may have a Canva watermark on them which means it’s a paid for photo. If this is the case, you will be able to change it to one of your own. Select the photo and click the trash icon at the top of the page. The template we have chosen in this example doesn’t have a watermark on it so we could use it if we wanted to, but we recommend that you upload your own photo where you can as this is a great way to showcase your products or services.
Let’s delete the image in the template and replace with one of our own. Just click on the image and select ‘Delete’ (top right).
To upload your own image, click on ‘Uploads’ (Left column) and then click on ‘Upload an image or video’.
When you find the image, you want to use on your computer, select it, and click on ‘open’ you will then be able to see it in Canva. It is best to upload a few different images so you can trial and error which one looks the best on your graphic.
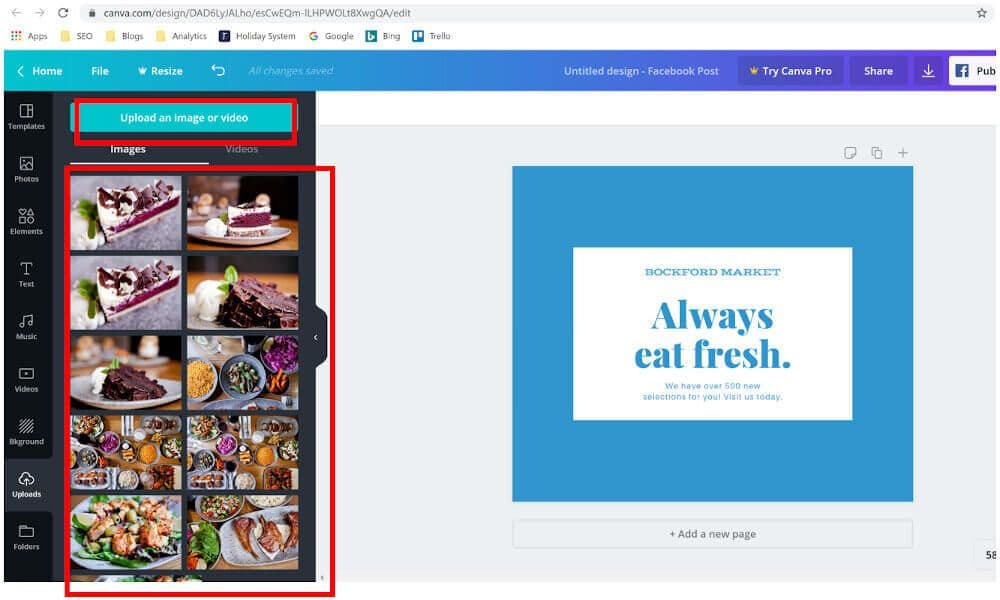
Click on the image you want to use and then resize the photo by dragging the corner of side angles until it is the shape and size you want it. You can make further adjustments by clicking in the centre of the image and dragging around – this will allow you to move the image around in the frame. When you click out of the box, the image should display behind the white text box. If you need to adjust the position of the image again just double click on the image and you will be able to change its position until you are happy with it. You can also change the position of the white text box by clicking on it and dragging where you want it to go.
Note: If you don’t have any suitable images to use of your own, you can click on ‘photos’ (left side of screen) to select one of Canva’s free stock images. Use the search bar to look for images that might be suitable i.e. in our example we could try searching for ‘restaurant’ ‘food’ or ‘kids meals’. Most of the images are free but some will be paid – be careful not to select a paid image.
To change the text in the white box, simply click on the text box and double click to highlight the text you want to change to write some new text.
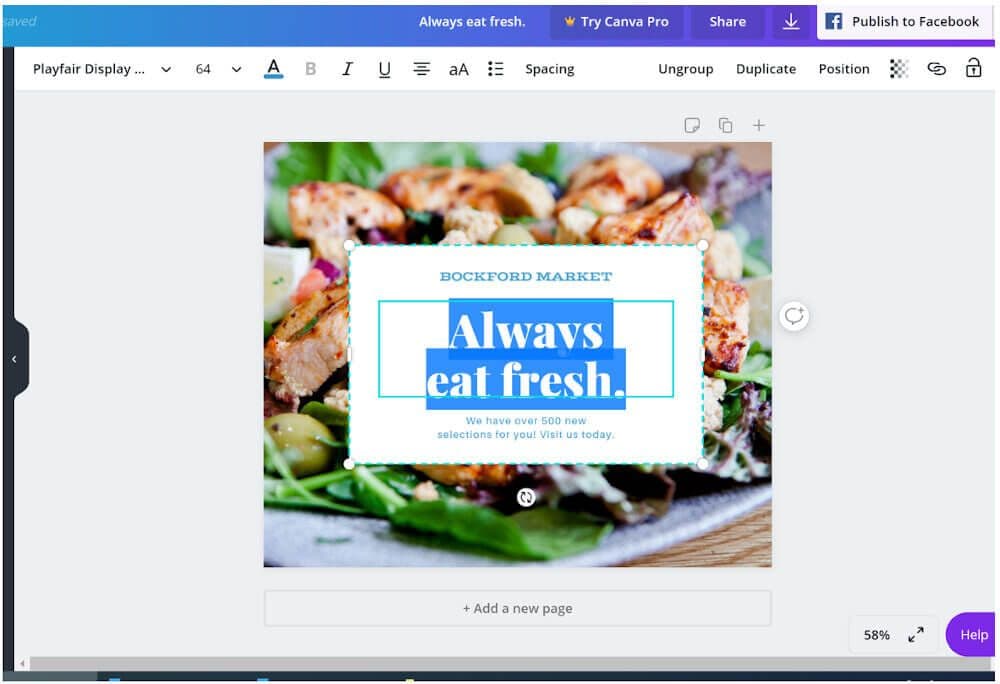
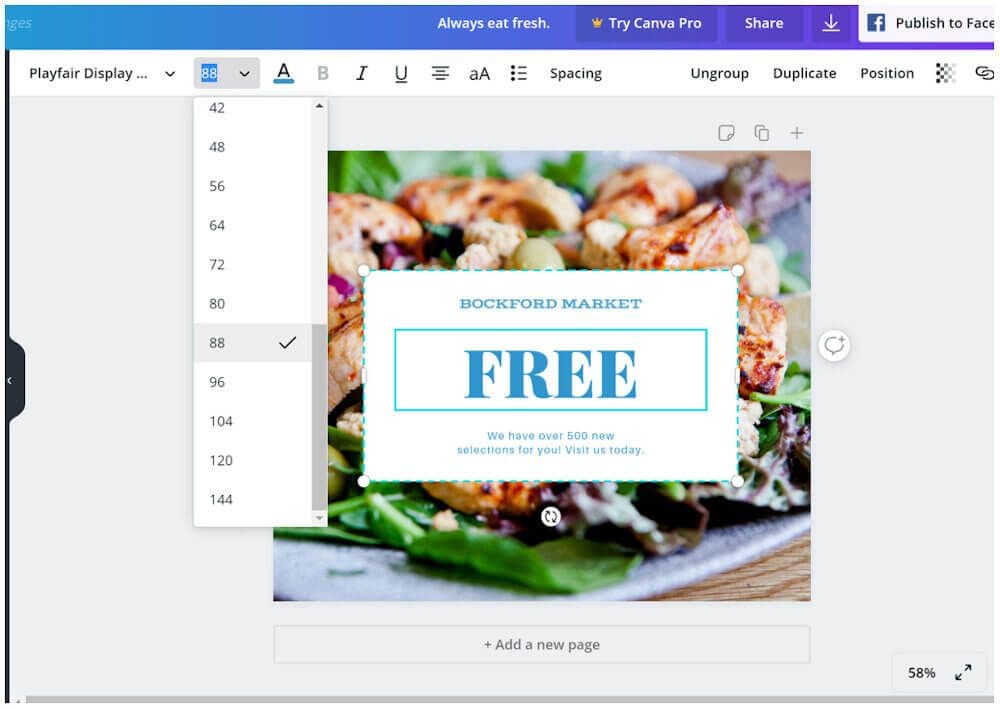
If your new text doesn’t quite fit or is not displaying how you want it, you could drag the text box to make it wider (but this may make the design less appealing). We suggest that you can adjust the font size of the text until it fits, just highlight the text and in the menu bar choose your font size from the pre-set options or type in any value you choose. Let’s try font size 104 for our example…
You can add extra text if you want to but don’t overcomplicate it with text – remember, most people will be reading this on their phones so you want to make sure it will be easy to read.
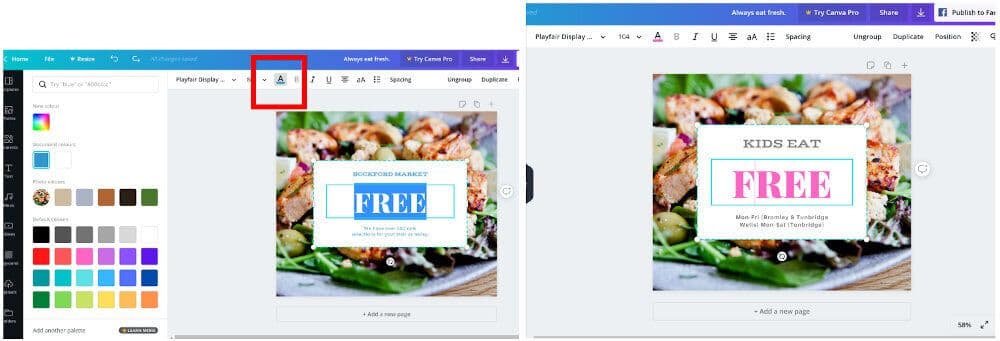
If you want to change the colour of the text to match your brand, or in our example to make it appealing to children and families, you can do so by highlighting the text you want to change and clicking on the ‘A’ in the menu bar – it will give you a selection of colours to choose from. Click on the one you want to use and then double click on the grey are of the screen to exit.
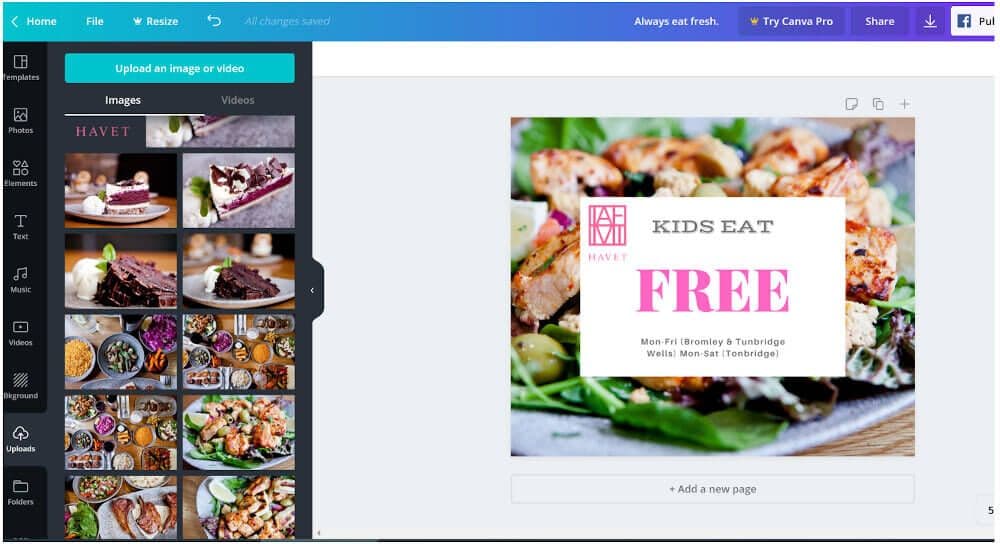
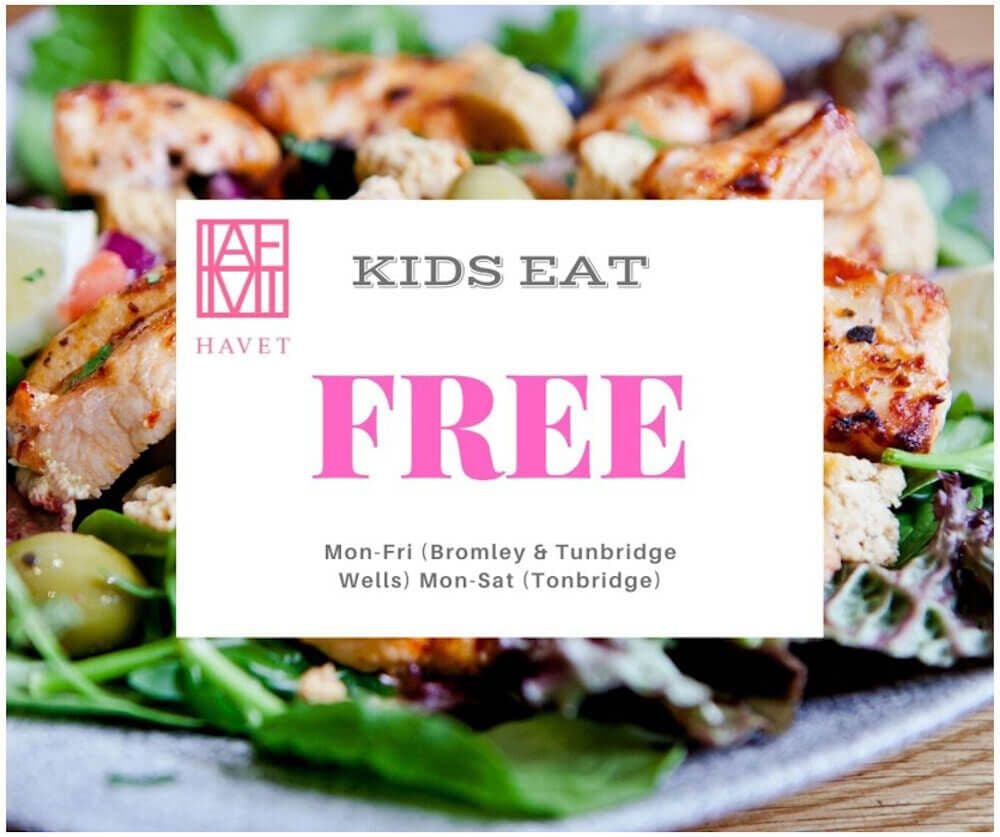
When you have changed all your text and have the font size and colour just as you want it you may decide to add your logo. To do this, you need to upload your logo (exactly the same way as you uploaded your image above). When your logo appears in the uploaded images section in Canva, select your logo. You can then resize and position where you want it to go. We have used a logo/ image from Havet Restaurant. In this example we changed the colour to pink for ear it pink day’.
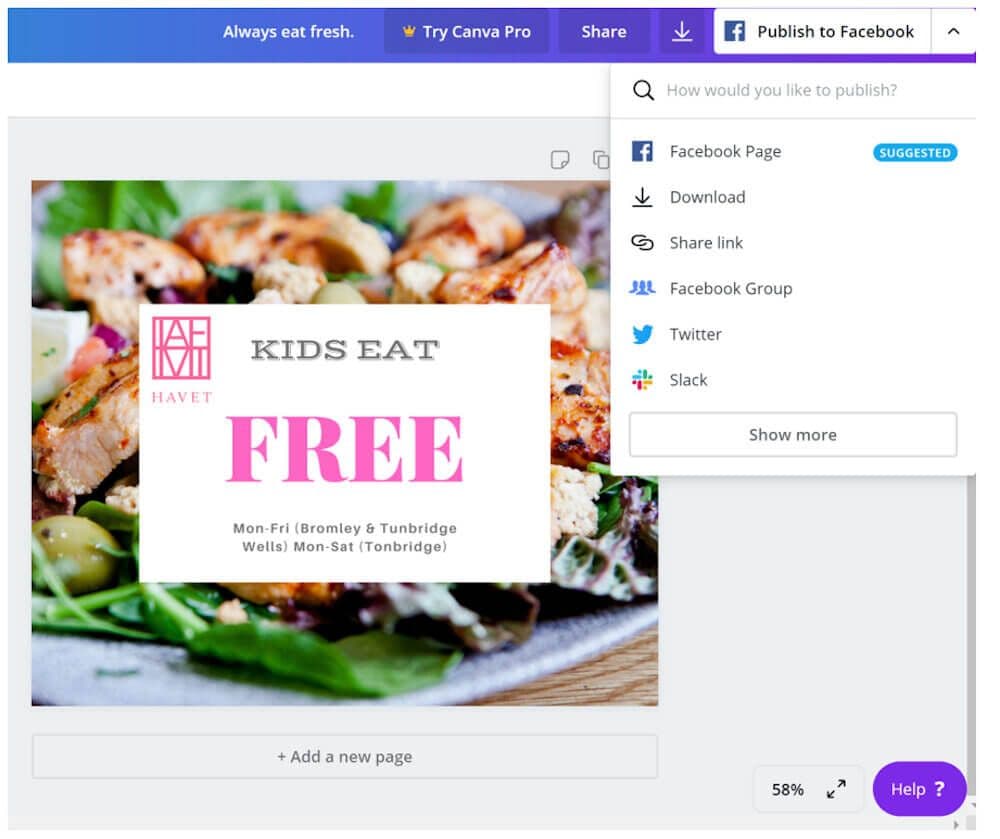
When you have checked your work thoroughly for spelling mistakes and layout and you’re happy with your project, you can either publish it directly to your social media platform, or you can download it and post to Facebook later.
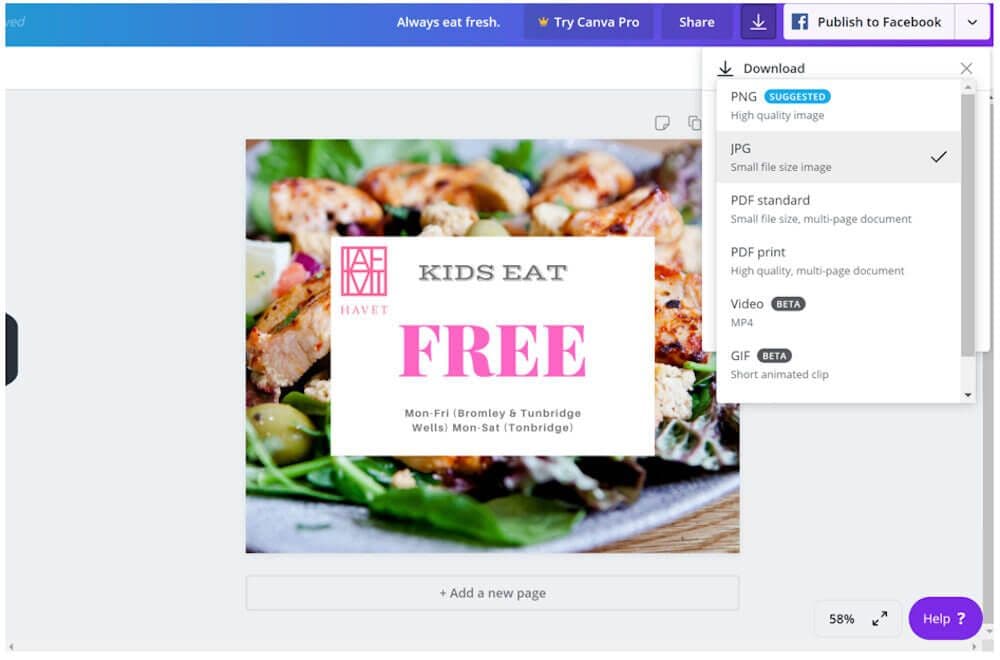
To download simply click on ‘download’, you will need to choose your preferred file type – we normally select JPG when creating graphics for Facebook. Choose your option and click ‘download’ (Canva may try again to get you to sign up to a paid account – just click ‘continue editing’ to return to your design). When it has finished downloading you will find the image in your downloads on your computer.
Later on, if you want to edit your design (or use it as a template to create a new one) you can find it from the homepage under ‘all your designs’.
Now that you know how to create a social media image in Canva you’re ready to start on your own project. Why not check out the homepage and experiment with creating different types of images.
As always, our social media team are on hand to help you if you need it, please don’t hesitate to contact Molly or Emma with any questions you have.
27th April 2020